

How to manually install a Minecraft Modpack
Sometimes you may need to install a modpack manually in case of an issue with your mod loader, or you are using a modpack that is not uploaded anywhere that the Modpacks tab of the panel supports. Here’s how you can do it.
Contents
Section titled “Contents”- Selecting Your Modpack
- Getting Your Server Ready
- Forge Packs (Apprentice Plan)
- Fabric Packs (Apprentice Plan)
- Master Plans
- Preparing Your Pack for Upload
- Installing The Pack
Selecting Your Modpack
Section titled “Selecting Your Modpack”Ideally, find the version of the modpack labeled “Server Pack”. This is a special version of the modpack without any client-side only mods installed as they will crash the server upon it starting.
On CurseForge, you can find the Server Pack of a modpack by scrolling down and looking for the Recent Files section. If the modpack has a Server Pack, you can find it here.
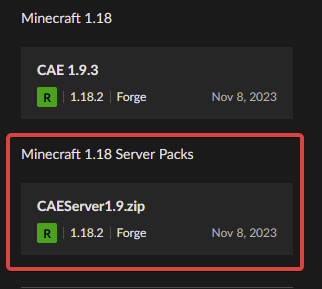
If you can’t find a Server Pack, you can make your own by finding out where your modpack is installed locally, making a copy, and removing any client side mods. These are mods that exclusively add client side features such as MouseTweaks, OptiFine, etc. Make sure not to confuse these with modding APIs that appear to do nothing but actually support another mod.
If you are not sure if a mod is client-side or not, check the mod page.
Getting Your Server Ready
Section titled “Getting Your Server Ready”Now that we know what modpack we are using, we’ll need to install the right version of Fabric or Forge on our server. You can do this by launching your local, client install of the Modpack and looking in the bottom left for the version. You can also do this by opening the startup script (e.g. startserver.sh ) or opening variables.txt and you can find the appropriate versions there.
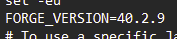 A Forge Version in startserver.sh
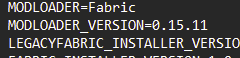 A Fabric Version in variables.txt
Forge Packs (Apprentice Plan)
Section titled “Forge Packs (Apprentice Plan)”- Go to the AleForge Panel
- Open
Startup - Under Minecraft Version, set the appropriate version of Minecraft for your pack
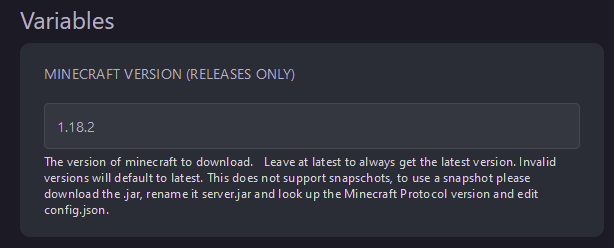
- Under
Forge Version, enter the version of Minecraft followed by the version of Forge listed on your client
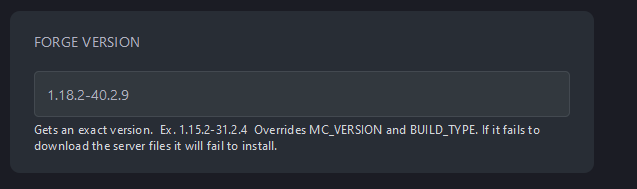
- Go to
Settingsand selectReinstall Server - Now you are ready to upload your pack!
Fabric Packs (Apprentice Plan)
Section titled “Fabric Packs (Apprentice Plan)”- Go to the AleForge Panel
- Open
Startup - Under Minecraft Version, set the appropriate version of Minecraft for your pack
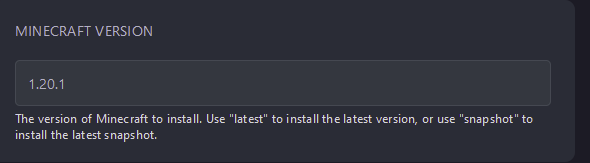
- Enter the version of Fabric required under
Fabric Loader Version
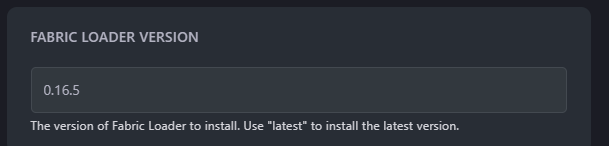
- Go to
Settingsand selectReinstall Server - Now you are ready to upload your pack!
Master Plans
Section titled “Master Plans”- Go to the AleForge Panel
- Open
Versions - Select Fabric or Forge
- Find the version of Minecraft your pack is for and select
Install

- From the dropdown, select the version of Fabric or Forge that your modpack requires and select
Install
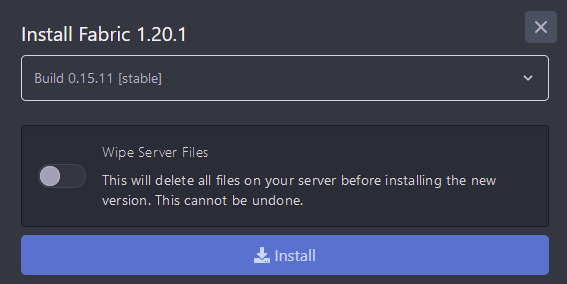
- Now you’re ready to upload your pack!
Preparing Your Pack for Upload
Section titled “Preparing Your Pack for Upload”Once all this is done, select your mods folder with server side mods and compress it to a .zip file named mods.zip
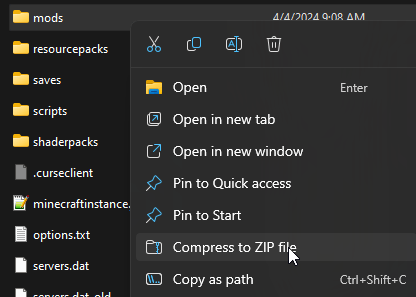
We will need to upload this new .zip file to the server later.

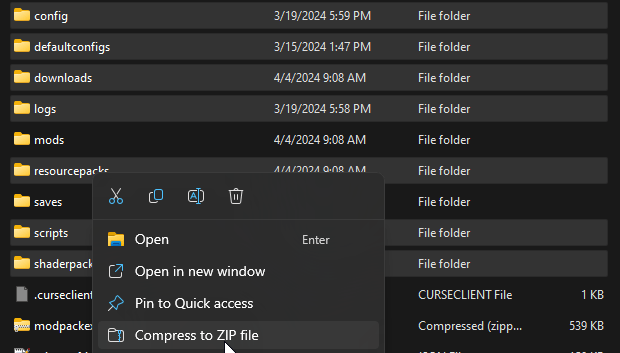
You’ll also want to select every folder in your client install except the saves folder and zip all of these up. These are folders like config ,resourcepacks , scripts , etc. These all contain files that the modpack may require to play as intended. We can compress these to a file named modpackextras.zip
Installing the Pack
Section titled “Installing the Pack”Next, we’ll need to go to the AleForge Panel finish installing the pack
- Go to the AleForge Panel
- Open
Files - Upload the
mods.zipfolder you created by dragging and dropping it onto the panel. For larger packs you may want to use SFTP - Right click on
mods.zipand select unarchive - Repeat steps 3 and 4 for
modpacksextras.zip - Now you can start your server and it will begin loading.
For Apprentice plans, you can use the command msh start in the console to start your server and test to make sure your pack has everything it needs to run