

How do I install mods on my Valheim server?
Valheim mods use BepInEx. On AleForge you switch the server to Valheim BepInEx with Game Swap, then install packages from Thunderstore in Mod Manager. After swapping, the latest version of BepInEx will be installed on your server.
Switch to Valheim BepInEx with Game Swap
Section titled “Switch to Valheim BepInEx with Game Swap”Vanilla Valheim cannot load BepInEx plugins. If you are already on a Valheim BepInEx instance, skip this section.
1. Go to the [AleForge Panel](https://panel.aleforge.net/)2. Stop the server3. Open `Backups` and create a backup4. Open `Game Swap`5. On an empty slot, click `New Game`6. Search `Valheim` and select the Valheim template7. Under `Server Version / Type`, choose `Valheim BepInEx`8. Leave `Backup Active Server` checked so the current instance is stored in that slot9. Click `Confirm Action` and wait for the install to finish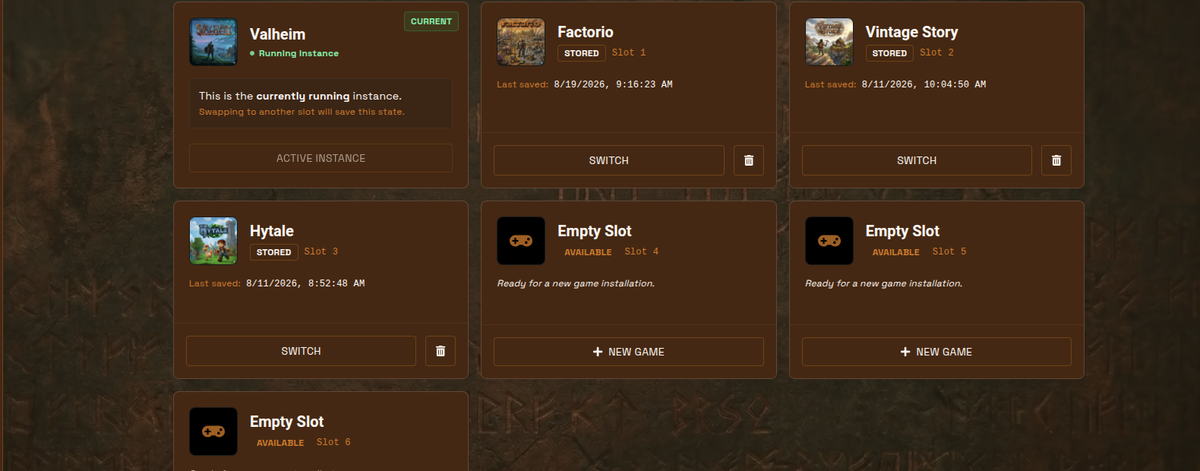
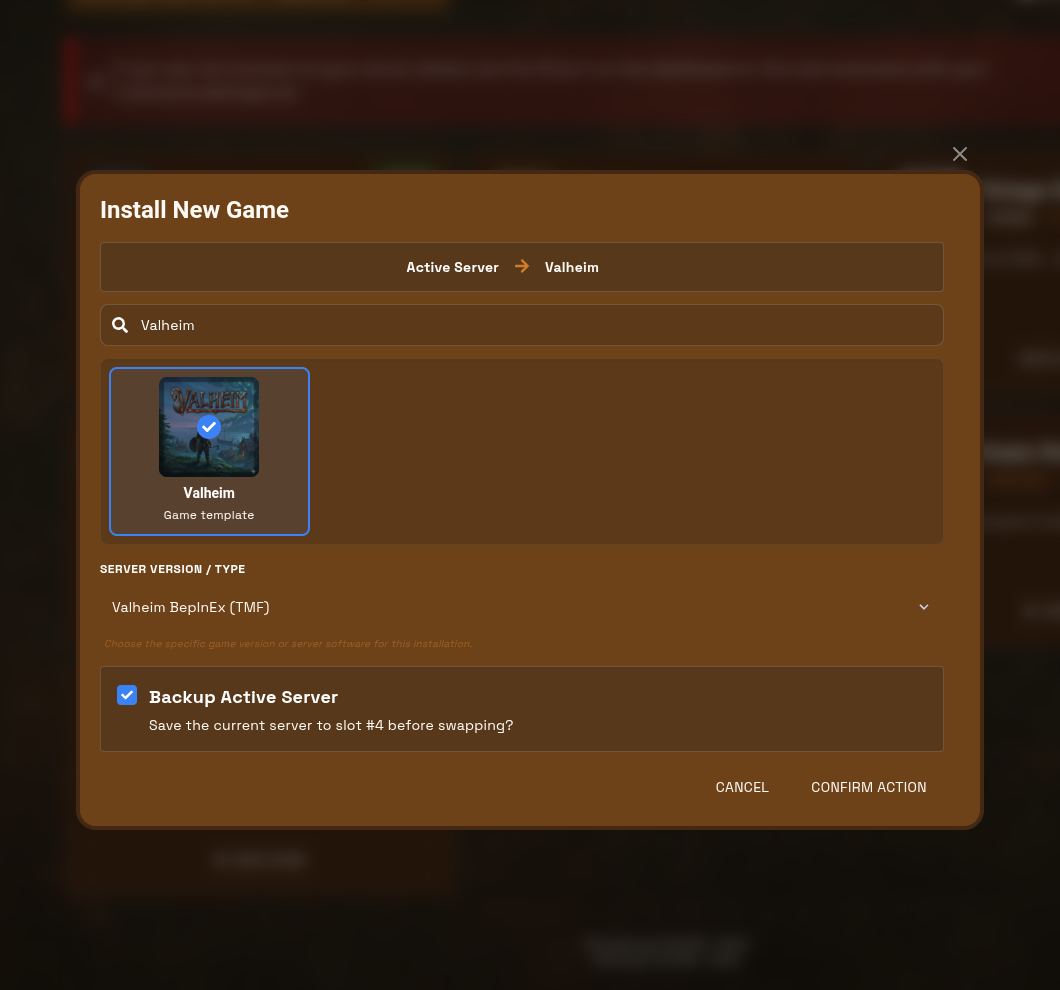
When the swap finishes, install mods next, then start the server.
Install mods with Mod Manager
Section titled “Install mods with Mod Manager”Mod Manager is in the server sidebar. It browses the Thunderstore Valheim catalog.
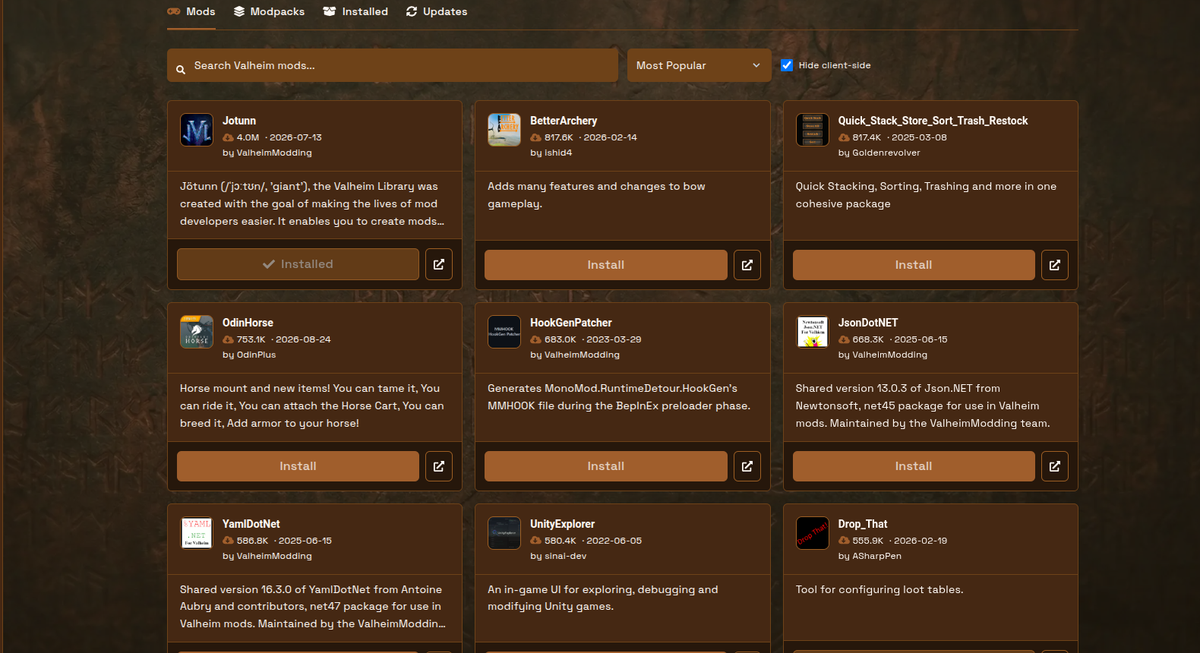
1. Open your Valheim BepInEx server in the [AleForge Panel](https://panel.aleforge.net/)2. Click `Mod Manager` in the sidebar3. Stay on `Mods`, or switch to `Modpacks`4. Search, sort by `Most Popular`, `Last Updated`, or `Newest`5. Leave `Hide client-side` checked unless you know you need a client-only package6. Click `Install` on a mod, or `Install pack` then `Confirm install` on a modpack7. Wait for the progress bar to finish8. Restart the server so the plugins loadMods do not hot-load. Restart after every install, uninstall, or update.
Dependencies install automatically. Already-installed packages show as Installed. BepInEx itself cannot be uninstalled from this page.
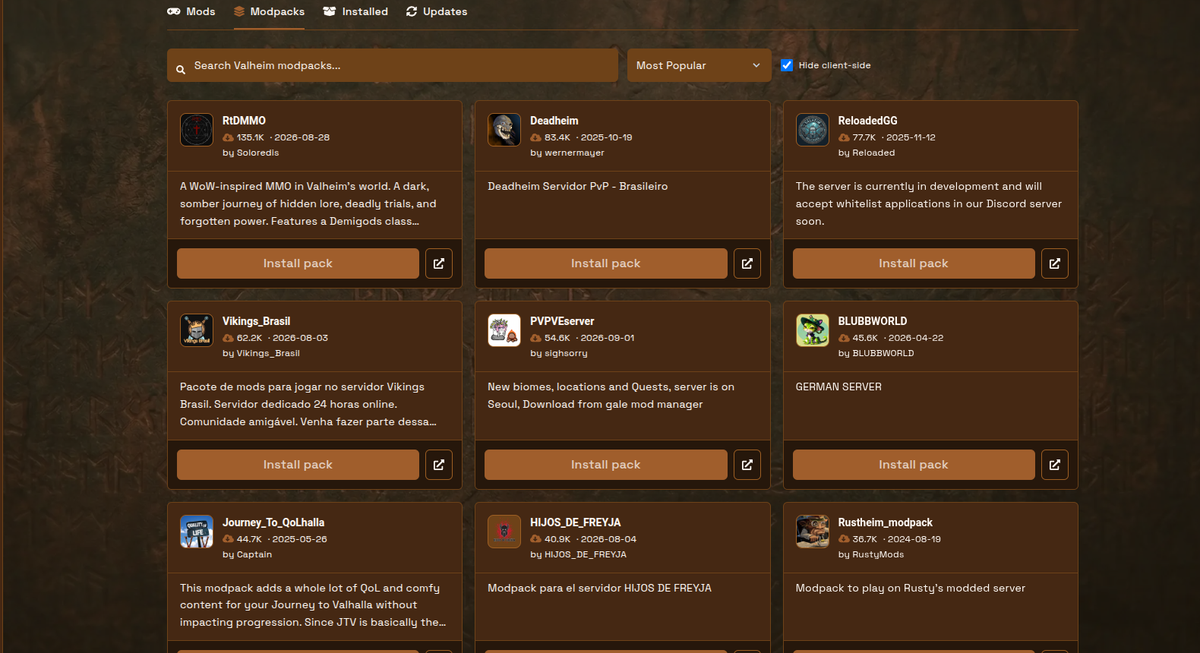
Modpacks
Section titled “Modpacks”The Modpacks tab is a separate Thunderstore list. Installing a pack asks for confirmation. Optional: check Replace existing plugins to clear /BepInEx/plugins before the pack (this does not remove BepInEx).
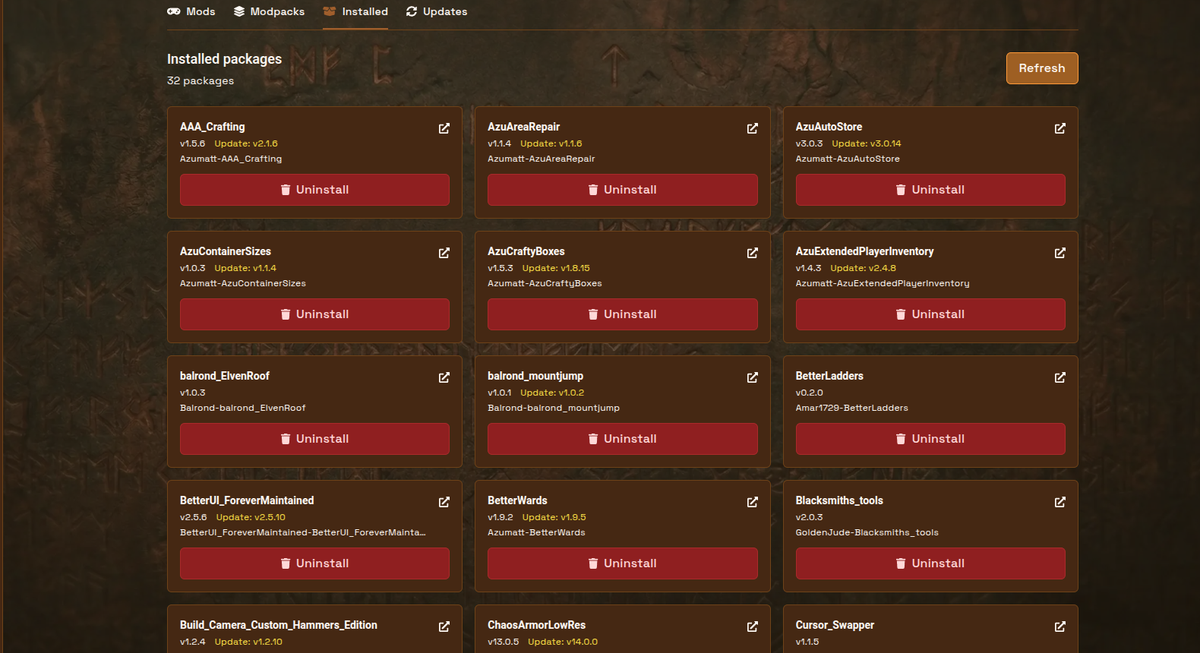
Installed and uninstall
Section titled “Installed and uninstall”Installed lists packages that Mod Manager placed on the server. Click Uninstall, then Confirm. Manual zips you dropped into BepInEx/plugins through Files will not appear here.
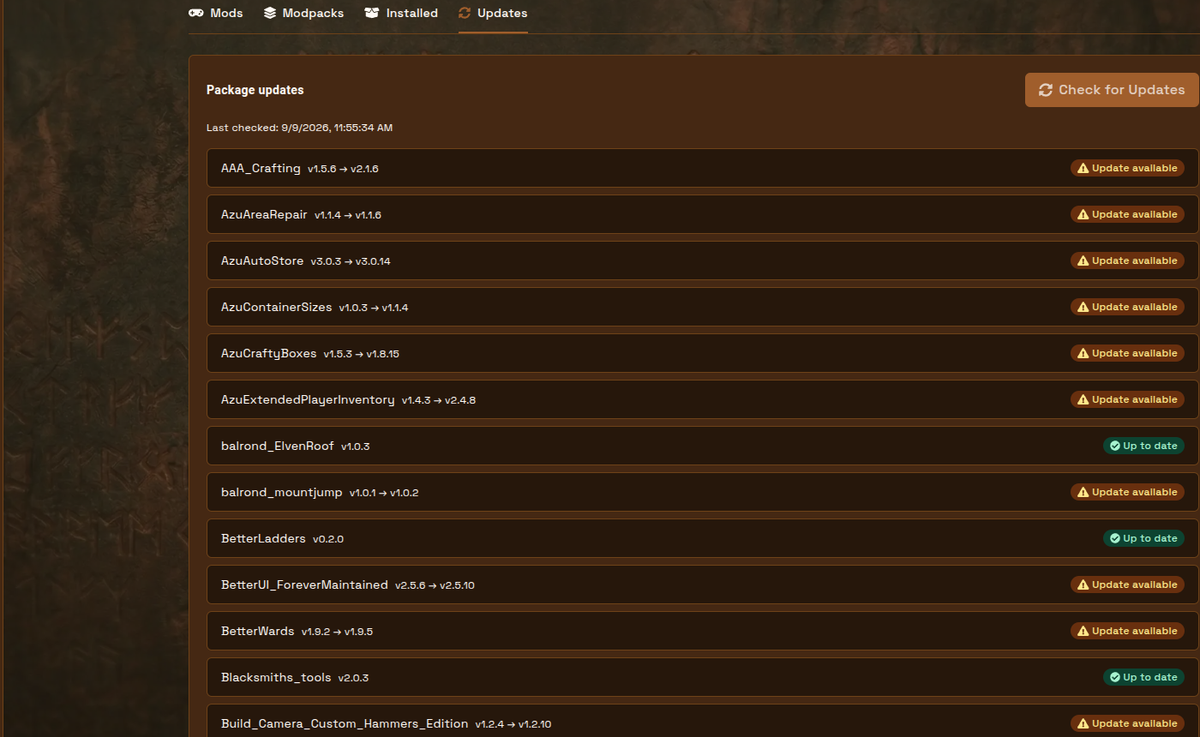
Updates
Section titled “Updates”Open Updates, click Check for Updates, then Install all updates if anything is behind. Restart (or Start server if it is offline) when the panel asks.
Client mods
Section titled “Client mods”Players still need the same Thunderstore packages on their PCs. Install BepInExPack Valheim locally, then the same mods you installed on the server. A Thunderstore client such as r2modman or Gale is the usual way to do that.
Manual upload (optional)
Section titled “Manual upload (optional)”Use this only if a package is not on Thunderstore or you already have a zip.
1. Stop the server2. Open `Files`3. Go to `BepInEx/plugins`4. Upload the zip and `Unarchive` it5. Start the serverManual uploads do not show under Installed or Updates in Mod Manager.
If install fails
Section titled “If install fails”If Mod Manager says the server is missing BepInEx Doorstop files, Game Swap to a new Valheim instance and set Server Version / Type to Valheim BepInEx. Do not change the startup command by hand to force BepInEx.
For world files after a swap, use upload a Valheim world and backup and restore.