

How do I create a Custom World on my Return to Moria server?
This guide shows how to create a custom or sandbox world on your Return to Moria server. Not sure which world type to pick? See Campaign vs Sandbox.
Creating a Custom World
Section titled “Creating a Custom World”Using Blacksmith’s Portal
Section titled “Using Blacksmith’s Portal”- Open the Blacksmith’s Portal
- Stop your server
- Go to
Startup - Enter a new
World Nameto force the server to generate a fresh world - Set
World TypetoCampaignorSandbox - Set
Difficultyto your desired preset, or choosecustomfor fine-grained control - If using custom difficulty, adjust these Startup variables:
Custom Combat DifficultyCustom Enemy AggressionCustom Survival DifficultyCustom Mining DropsCustom World DropsCustom Horde FrequencyCustom Siege FrequencyCustom Patrol Frequency
- Acceptable values for the custom settings are
verylow,low,default,high, andveryhigh - Start your server
To return to a previous world later, set World Name back to that world’s name on Startup.
Self-Hosting/Other Providers
Section titled “Self-Hosting/Other Providers”- Open the directory where your Moria server is installed
- Open
MoriaServerConfig.ini - Under
[World]changeName=to a new value. This will force the server to create a new world in case there is one already generated. If you ever want to change back to your old world, just place the name of the old world here - Under
[World.Create]you can changeType=to make your world a sandbox or a campaign world - Change
Difficulty.Presettocustom - Scroll down until you find
Difficulty.Custom
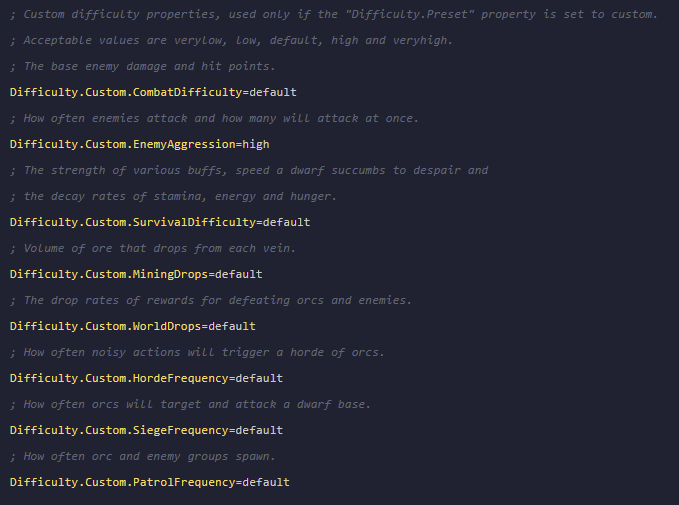
- Here you can find all of the settings you can change for your world
- Acceptable values for these options are
verylow,low,default,high, andvery high